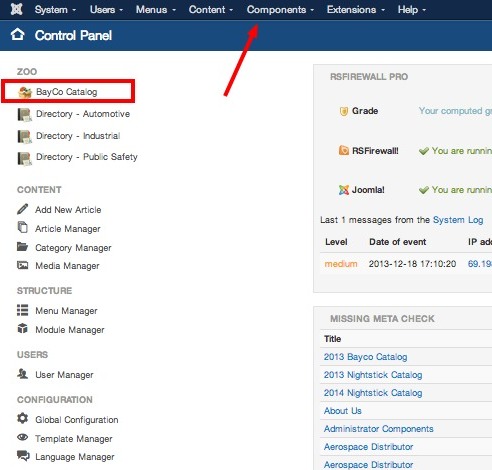
1. Login to the backend of website and go to ZOO through the quick icons or by going to COMPONENTS-> ZOO from the top menu.
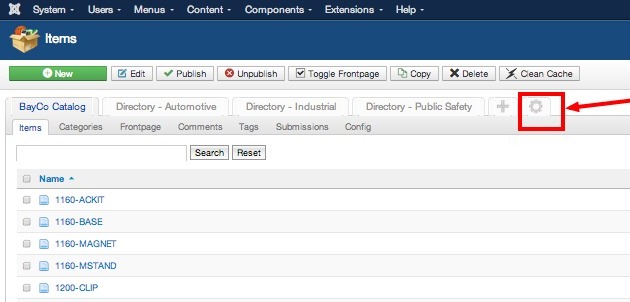
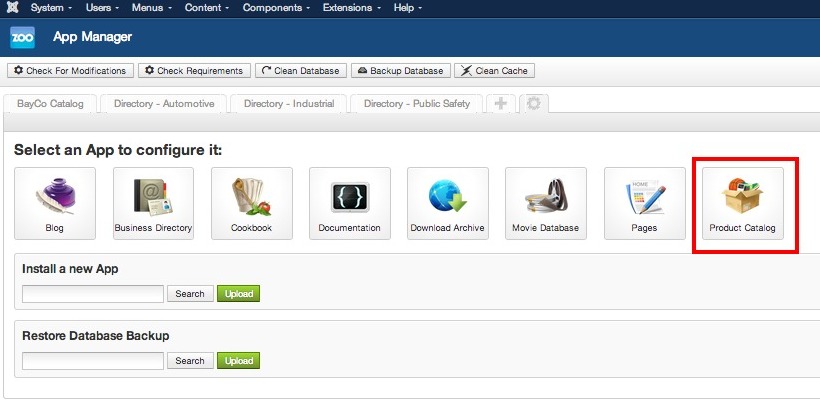
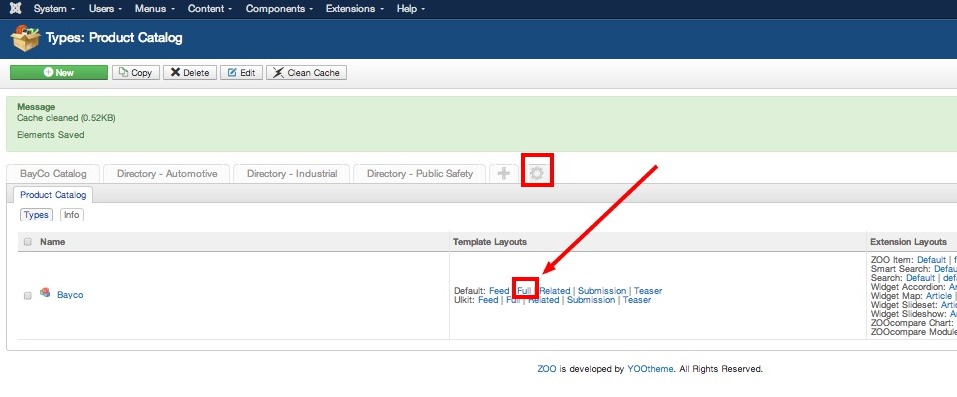
2. Anytime you want to make structure changes in ZOO, click on the SPROCKET icon. Then select the type of application you want to edit.
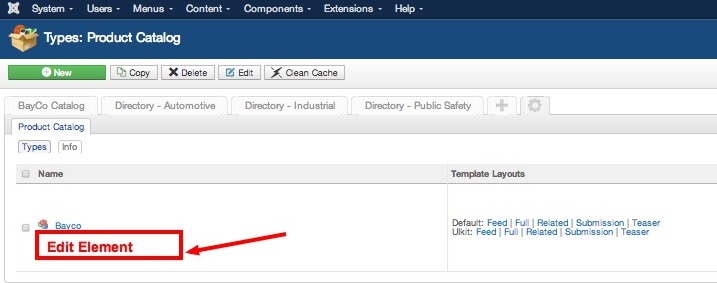
3. Below the name of the data type you want to change, click on EDIT ELEMENT (you have to hover mouse over it for it to become visible).
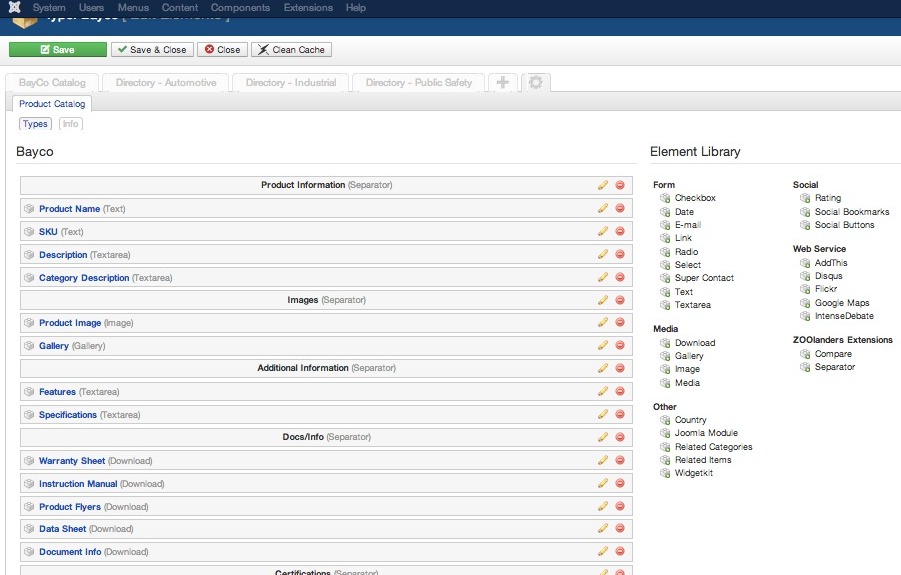
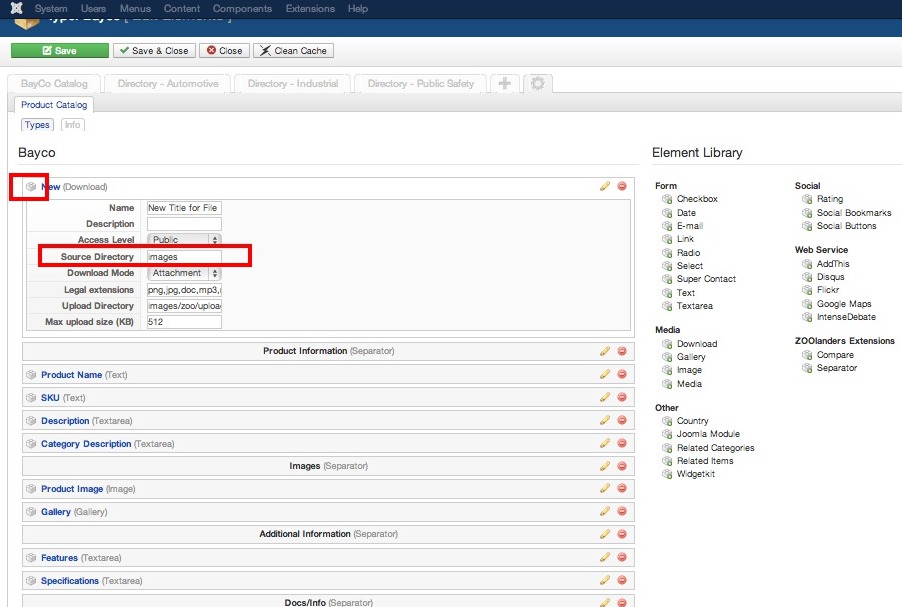
4. On the left side, it shows all the elements already associated and on the right are your choices of element types. For a file upload, choose the DOWNLOAD type listed under MEDIA. Drag and Drop it to the left side.
5. Add title for the file upload. The SOURCE DIRECTORY determines the default folder that it will navigate to for this. You can save yourself a lot of time but pointing it directly to the folder where you plan to have those files.
6. To rearrange the elements, move your mouse over the LEGO looking icon. Your mouse will turn into crosshairs and you can drag and drop. NOTE: This affects the order you see the elements on the BACKEND of the site where you add items and has nothing to do with the frontend of the website.
7. Hit SAVE.
NOTE: Anytime you add something custom in ZOO, there are two steps, adding it to the type and then adding it to the layout. If you do not do the second, it will not be visible to website visitors on the frontend of your website.
1. From the same SPROCKET page, go to the app, and then choose the layout you wish to modify. We are going to choose the FULL view for this tutorial:
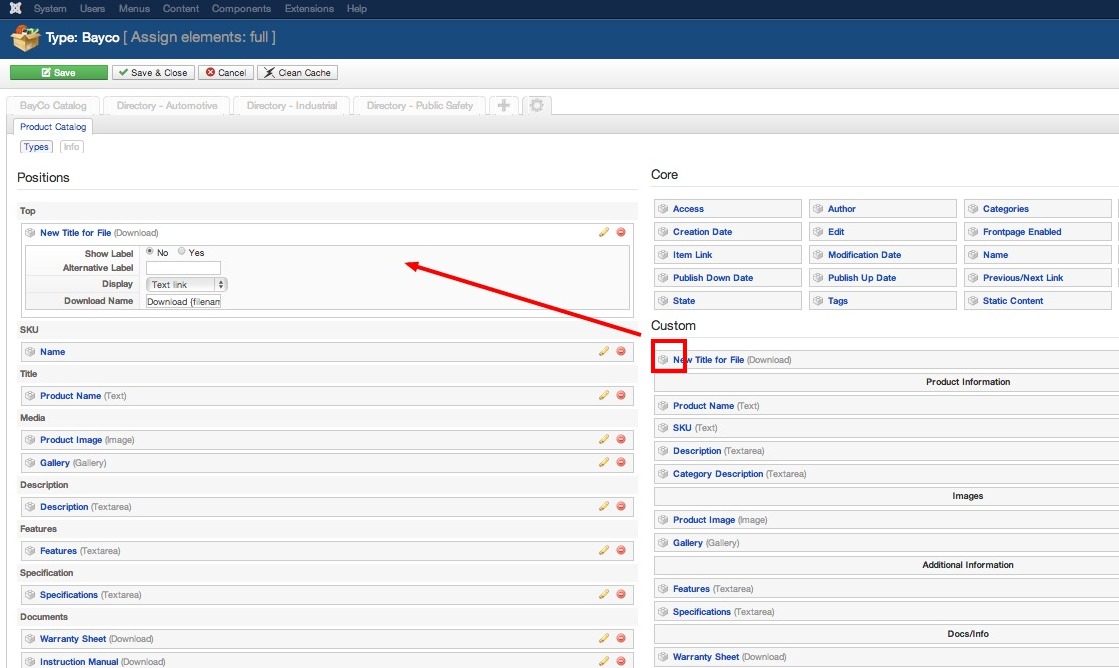
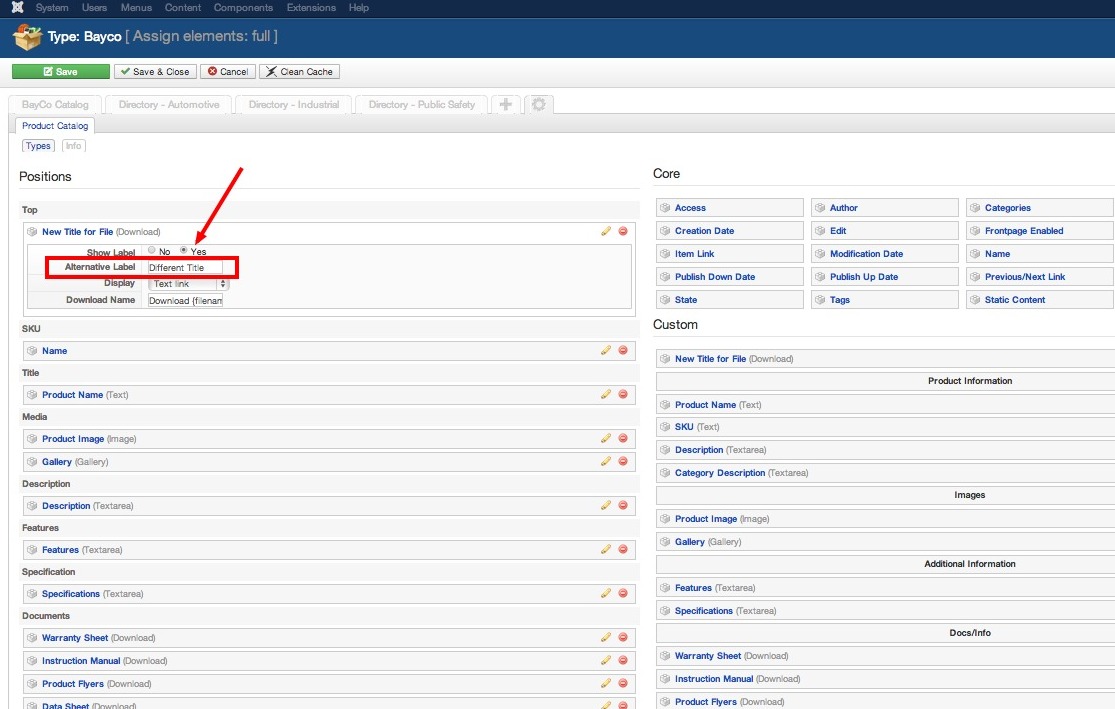
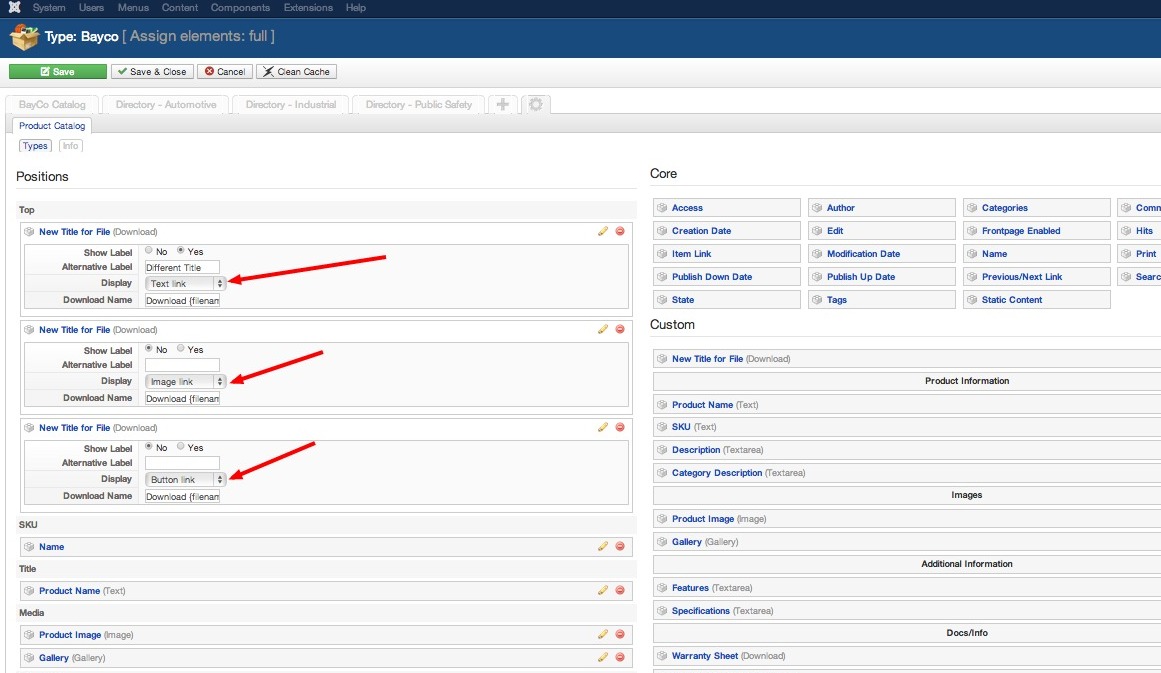
2. Again, the left side shows what is associated with the layout and the right side shows the available choices. To add our new file upload, drag from the right side to the left.
3. There you can set SHOW LABEL to YES if you want it to display the element title next to the file. You can use the ALTERNATIVE LABEL to give it a different name.
