If you have multiple locations of the same business, you can quickly and easily add all locations to your Google My Business account by following these steps.
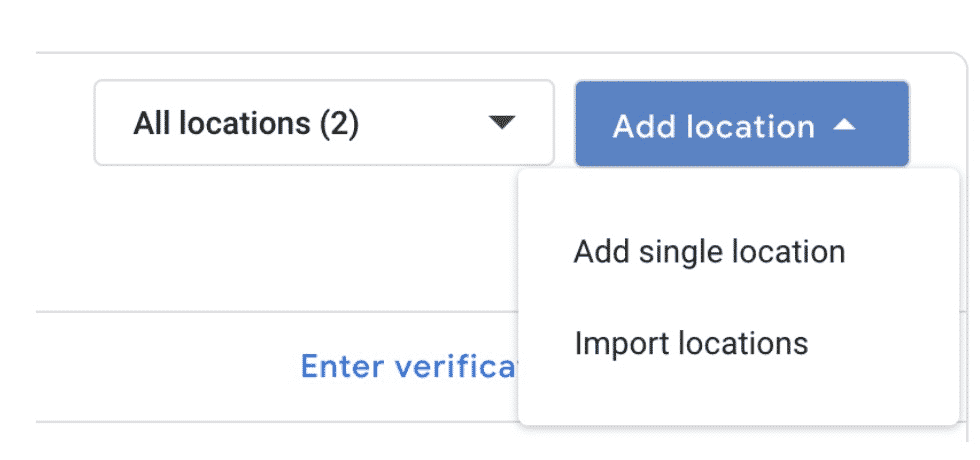
- Log into your Google My Business Account and click “Add location” and select “Import Locations”

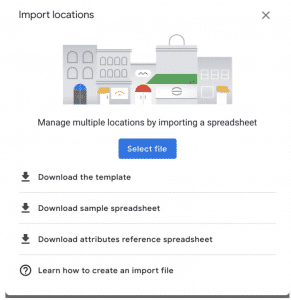
2. Download the template as an Excel document by clicking the link. We recommend the Excel template because you can’t import a CSV on the site.

3. You can download a sample spreadsheet and attributes reference spreadsheet from the same location. These are very useful in helping you fill out the information correctly.
4. Open the download and add your business information to each cell. Not all cells are required, but for specifics on what is required and how to add information like addresses see this Google My Business help document.
5. After you have entered all business information in the spreadsheet click “Select file” and choose the Excel document you added your business information into.

6. After the import is complete, you can “cancel import” or “preview changes”

7. Clicking “Preview changes” allows you to see what will be added in the import. If you have errors on your document, you can click “Download details” to see the specific errors and make changes to your import document before continuing.

8. Click “Apply” to import the locations.
9. Unverified locations will have a link to “verify now” which will trigger the postcard to be mailed from Google My Business to the business physical address. The postcard takes about 5 days to arrive and contains a verification code. Once received, simply enter the code and click “Verify.”
If you would like to know why importing multiple locations is a good practice, this article explains why a business would want to manage locations under one account and provides other tips on how to manage a Google My Business account.
For more information from Google on managing business locations in Google My Business click here.


